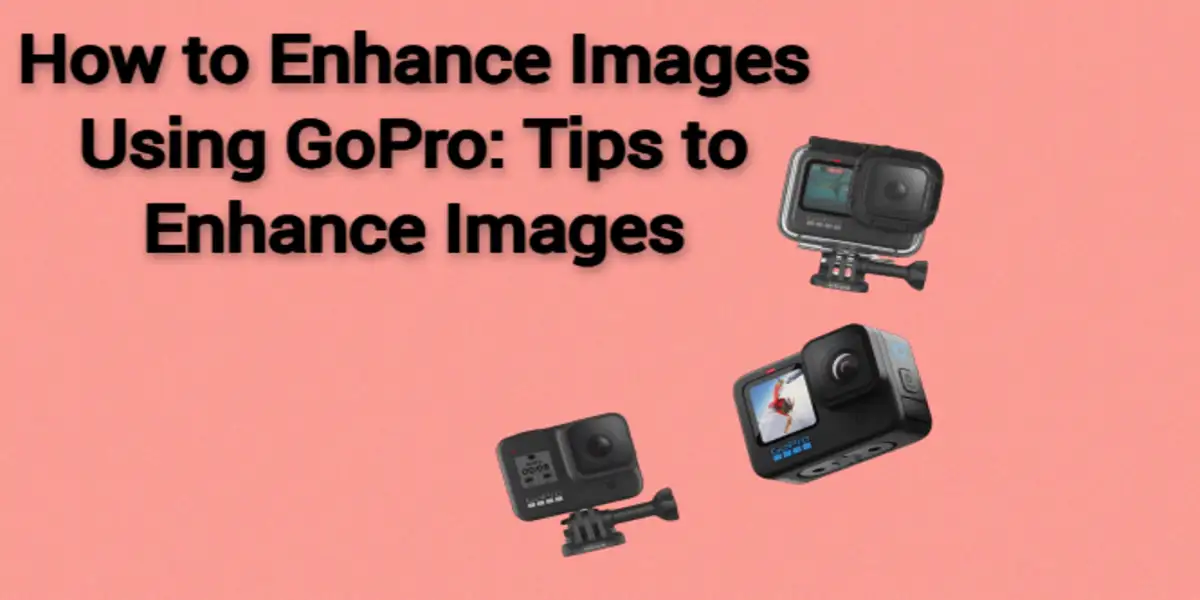
The HERO camera also known as the GoPro and was released in 2004. Since its release to now, many people have loved using this cool action camera.
It is great for taking pictures and videos in all kinds of places. You can take beautiful pictures while on a hill, diving underwater, or climbing a mountain. This camera helps you capture amazing moments.
But if you want to take great photos with a GoPro, you need to know how to use it in a better way. How can you make beautiful pictures with your GoPro?
In this guide, we will share easy tips to help you take awesome photos that show the fun of your adventures. Let’s dive in and learn how to make your GoPro photos shine!
How to Enhance GoPro Photos
Here is a quick list:
- Setting Up for Success
- Mastering the Wide-Angle Effect
- Avoid Backlighting
- Brust Mode
- Night Mode
- Timing is everything
- Accessories
Setting Up for Success
If you want to take beautiful photos with your GoPro or HERO camera, it’s very important to set up their settings correctly before you start capturing your images. Adjusting your camera settings based on what you want to capture and can make a big difference in the quality of your images.
If you want to click backlit scenes, you can use the HDR format (or WDR if you have an older model). This setting can help you to improve the quality of your photos in tricky lighting, such as during sunrise or at night.
When you are taking pictures in low light, you might notice some graininess in your pictures. To reduce this, use the SuperPhoto mode of GoPro. This mode works with HDR to make your photos clear and sharp, even when the light isn’t great.
If you want to enhance the brightness and exposure of your shots, try using Protune mode. This setting helps maximize the final effect and resolution of your images, making them look even better.
Lastly, if you plan to edit your photos later after the tour you can consider using RAW photo mode. This mode captures images in their raw form, giving you more options and flexibility when you edit them.
Mastering the Wide-Angle Effect
GoPro shots are known for their immersive and exciting captures. The cameras come with a wide-angle lens, also called a fisheye lens, which helps you capture images with great detail. This lens makes viewers feel like they are part of the scene, almost as if they are right there with you.
However, mastering the fisheye effect can be also tricky. Sometimes, you might want to limit the distortion to get the best results. To do this, you can zoom in to reduce the camera’s field of view.
On older GoPro models, you can choose a medium or narrow field of view to crop the image better and lessen the fisheye effect.
Another helpful trick is to use GoPro Studio, a photo-editing app that can remove the fisheye effect from your images. This way, you can keep the fun of the wide-angle view while making your photos look more natural.
It’s also important to choose the right field of view for your shots. If you want to photograph something close to you, in this case, use the wide view. This setting captures more of the scene around your subject.
If you are taking a picture of something that is away and want a flat horizon, switch to the linear view. This setting helps make the horizon look straight and clear.
Avoid Backlighting During Your Session
To get beautiful photos with your GoPro, it’s very important to avoid taking backlit photos during your session. This is especially true for underwater shots, which can often look unclear if the lighting isn’t right.
To make sure your pictures turn out great, wait for the sun to be in the best position or you can choose a different angle for your shot.
If you find yourself in a situation where backlighting is unavoidable, you can use the Wide Dynamic Range (WDR) mode. This setting helps increase the detail in both the light and dark parts of your image.
It’s particularly useful for scenes that have bright areas and darker subjects, allowing you to capture more balanced and clear photos.
Burst Mode: Capturing the Moment
If you want to capture a special moment during fast movement, you can try using the GoPro burst mode it is a fantastic option. This feature allows your camera to take up to thirty photos in just one second!
This means you won’t miss any details, and you can get the perfect shot with great precision. It is just like a video of images.
You can also adjust how many photos are taken per second based on the speed of the action you’re capturing. For very fast movements, setting the burst mode to capture thirty photos in one or two seconds is ideal. This way, you’ll have plenty of images to choose from to find the perfect moment.
If the movement is slower, you can use it for a more relaxed setting, like five or ten photos in one or two seconds. This helps you capture the action without overwhelming yourself with too many images.
Embrace the Night with Night Mode
When you’re taking pictures at night or creating in low light with your GoPro, you can use night mode for this situation. This setting is designed to help your images stay bright and clear, even in dim lighting.
Night mode keeps the camera’s shutter open long enough to capture as much light as possible, confirming that your photos don’t turn out too dark.
However, there are some important protections to keep in mind to get clear shots in night mode. First and foremost, your GoPro must be fixed and stable.
If the camera moves even slightly when the shutter is open, your photos can become blurred and lose their sharpness. Using a tripod or resting the camera on a stable surface can help you achieve the best results.
Timing is Everything
When you are taking great pictures with your GoPro, selecting the right time of day is important. Many photographers ignore this part, but it can significantly impact the quality of your images.
For instance, the natural colors during sunrise or sunset, often referred to as the golden hour, add a magical charm to your photos. During this time, you can achieve stunning results without needing to edit the images at all.
If you find yourself required to shoot at noon, don’t worry! You can still get good shots by taking a few precautions. Look for shade to soften the harsh sunlight, consider using fill light to brighten your subject, and be open to editing your photos afterward if necessary.
Cloudy weather can also be a blessing for GoPro photography, as it provides great shade and diffused light, which can enhance your images. Additionally, with the right settings, you can capture beautiful shots at night.
Gear Up with Accessories
To enhance the quality of your GoPro photos, consider investing in some essential accessories. While not all are necessary for each shoot, the right tools can make a significant difference depending on your context.
A telescopic pole is great for enlarging your field of vision and capturing sharper images by distancing the camera from your subject. For hands-free shooting, a harness allows you to take dynamic shots while engaging in activities like kayaking or rafting.
A tripod provides stability, enabling you to set your GoPro on various surfaces for steady shots. Additionally, a polarizing filter helps eliminate reflections, making it an excellent choice for photographing water or snow, while enhancing color and contrast.
7 Easy Tips for Taking EPIC GoPro Photos (2024 Photography Guide)
Quick List
- Tip 1 – Framing the Shot
- Tip 2 – Originality
- Tip 3 – Plan in Advance
- Tip 4 – Shoot at Sunrise or Sunset, Never Midday
- Tip 5 – Experiment with the Settings
- Tip 6 – Gear
- Tip 7 – Get Good
- Tip 1 – Framing the Shot: Make sure to frame your shot. This means placing your subject in a way that looks nice and balanced.
- Tip 2 – Originality: Try to be unique. Look for interesting angles or views to make your photos stand out from others.
- Tip 3 – Plan in Advance: Think ahead! Know what you want to capture and set up your GoPro before you start shooting.
- Tip 4 – Shoot at Sunrise or Sunset, Never Midday: Take photos during sunrise or sunset. The light is soft and pretty, making your pictures look special.
- Tip 5 – Experiment with the Settings: Don’t be afraid to try different settings. Change things like brightness to see what looks best.
- Tip 6 – Gear: Use good accessories. They can help you take steadier and better pictures.
- Tip 7 – Get Good: Keep practicing! The more you shoot, the better you will get. Soon, you’ll be a GoPro pro!
FAQs
How can I improve the quality of my GoPro pictures?
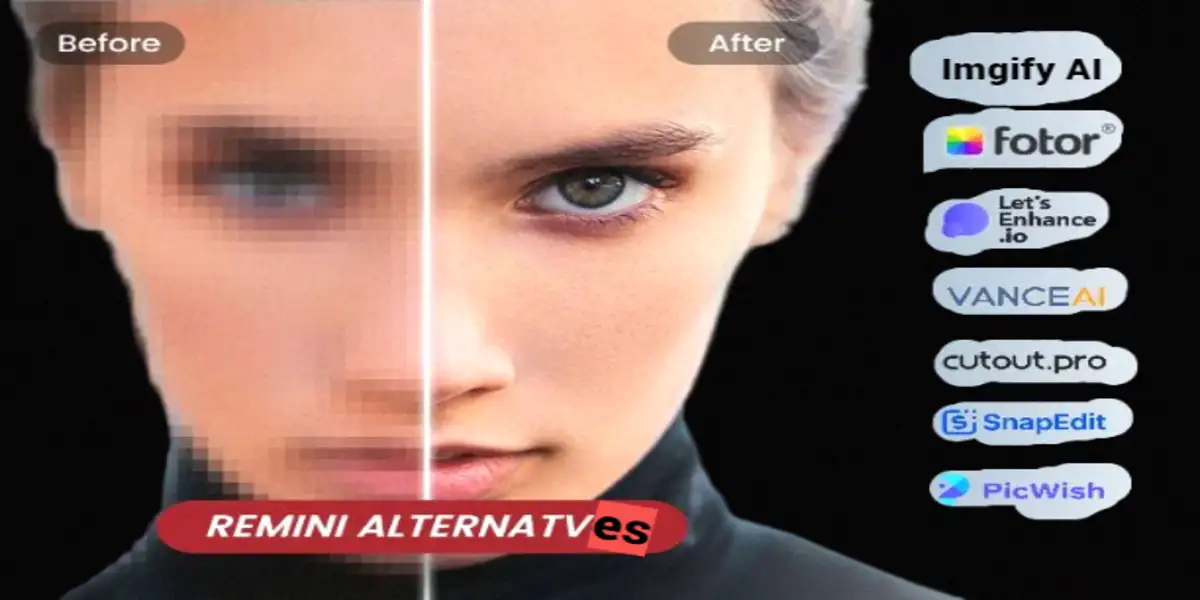
You can increase your image quality by following the tips or using an online tool like Imgfy AI.
How to get the best photos with GoPro?
To take the best photos try considering these tips:
- Tip 1 – Framing the Shot
- Tip 2 – Originality
- Tip 3 – Plan in Advance
- Tip 4 – Shoot at Sunrise or Sunset, Never Midday
- Tip 5 – Experiment with the Settings
- Tip 6 – Gear
- Tip 7 – Get Good
Does GoPro take high-quality photos?
Yes, but you have to configure it yourself.
The alternative of GoPro?
The best alternative is Imgify. It allows you to enhance your images with AI technology. AI auto-adjusts your image colors.


