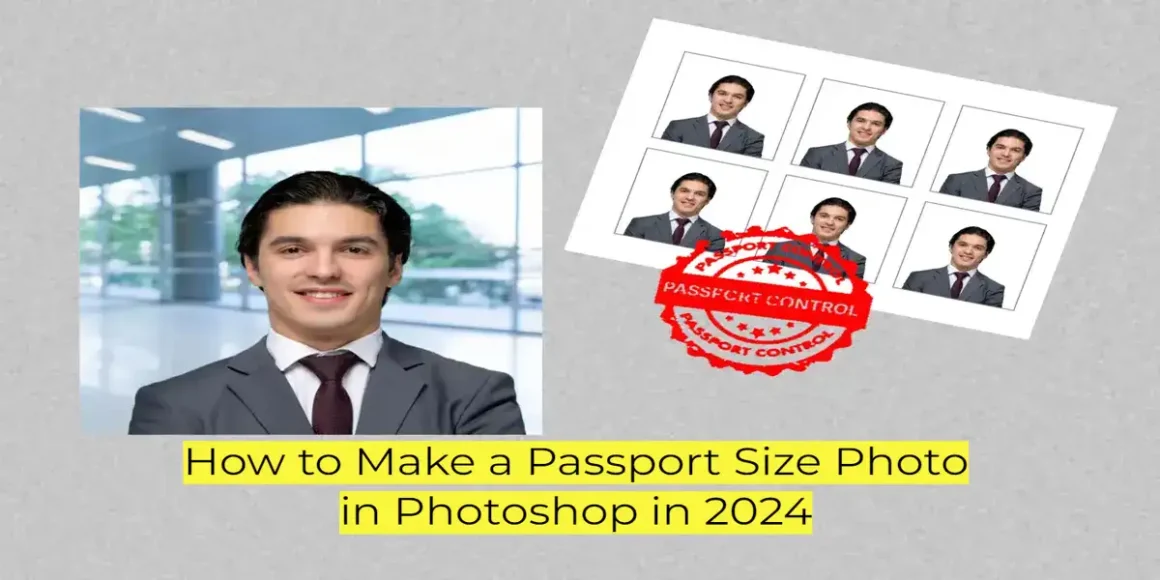
Passport-size images are best for documents but the paid services are very costly, and everyone can’t afford them. For those, we have a solution for how you can make passport-size images using your favourite software Photoshop.
The guide will include some simple steps for making passport-size images with Photoshop and the best alternative.
How to Make Passport Size Images Using Photoshop
Here is a quick list of steps:
1. Open your photo in Photoshop
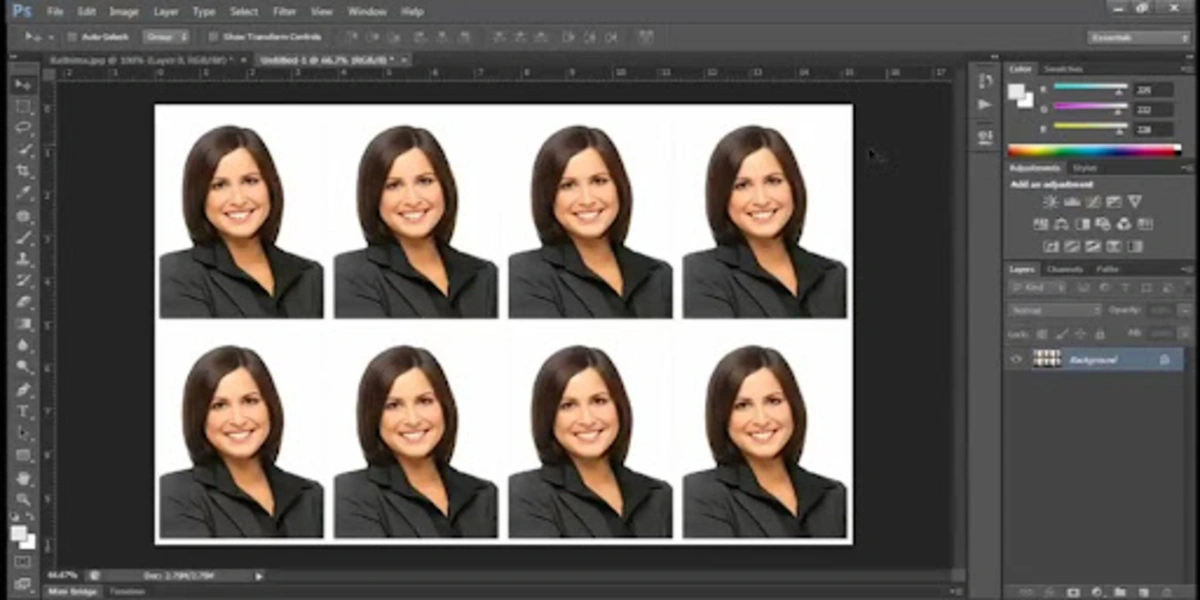
- Crop the image to passport size
- Adjust the colors and lighting (optional)
- Resize the image to the required resolution
- Save the final Result
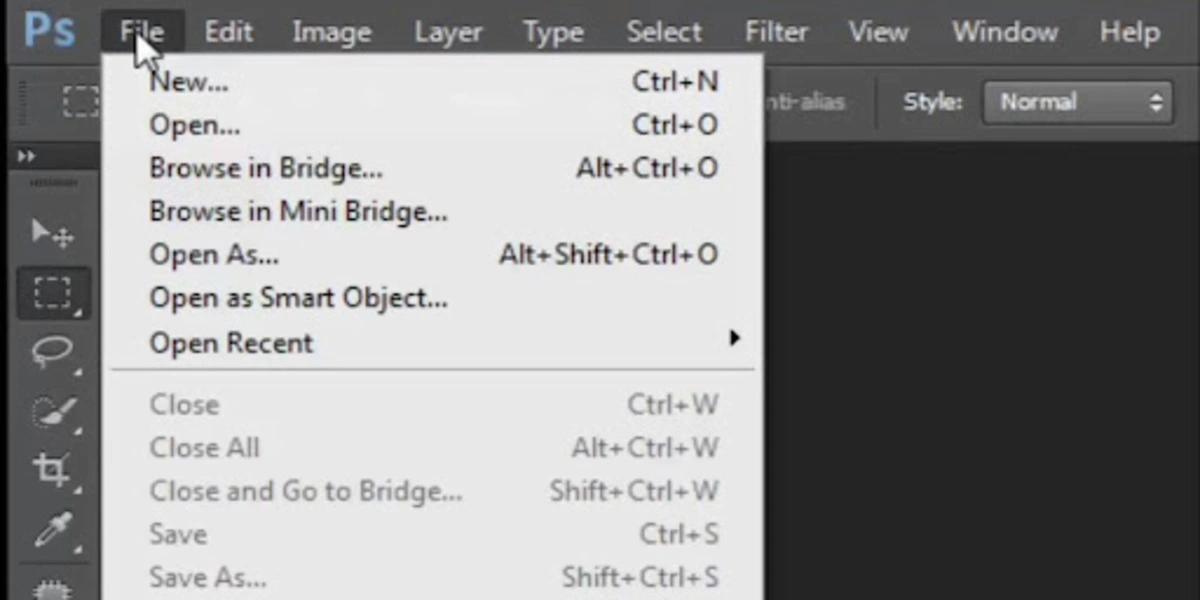
- Open Your Photo in Photoshop
Open Photoshop on your pc and import the image you want to make passport size.
2. Crop the Image to Passport Size
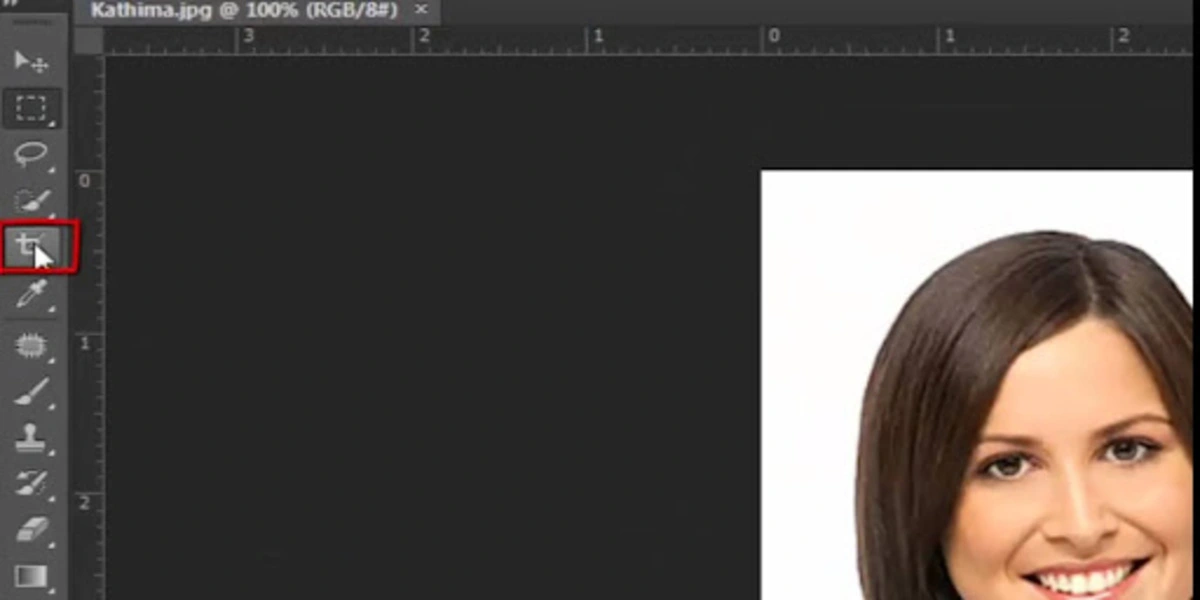
The passport image dimension is 2×2 inches (51×51 mm). You can use the Photoshop crop tool to set these dimensions. Here are the steps on how you can do that:
- Image > Crop
- In the Crop tool, set the height and width to 2 inches or 51mm
- To position your face, you can use handles or drag the crop area.
- Click the Crop button.
3. Adjust the Colors and lighting (optional)
If your picture looks dull, you can colorize it using Photoshop and improve its overall quality. Here are the steps on how you can do that:
- Use tools like light, contrast, curve, saturation, and shadow to adjust lights and colors in the image.
- After that, if needed then adjust the noise and clarity in your image.
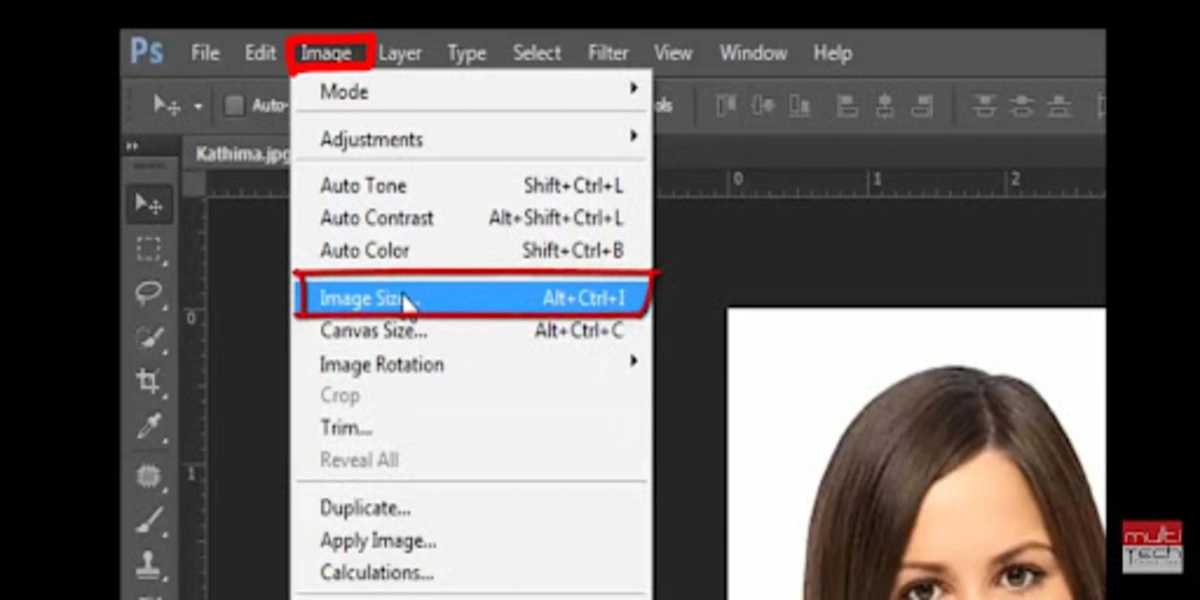
4. Resize the image
For your information, Passport-size photos have a particular resolution which is 300DPI (dot per inch) and to meet that resolution, we have to resize it. Here are the steps:
- Go to Image > Image Size
- Set resolution to 300dpi
- Make sure the height and width adjust automatically to the required ratio.
- Click Ok
5. Save the Final Result
Here are the steps to save the image in the storage:
- Go to Files then Save it as
- Choose the required format
- Set the file name
- Click Save
How to Get Passport-Size Photo Without Photoshop
We know everyone can’t afford to install Photoshop onto their PC. So for those we come up with an alternative online AI solution in which you can edit your image online with the help of AI. We have tested the tool and it works perfectly.
Imgify
Imgify owns an online AI Passport size photo maker. You can use it as an alternative to Photoshop as it makes you free from the complex editing interface. Imgify Passport size photo maker has an easy-to-navigate interface where you can make your passport-size images in seconds with the help of AI tools.
Also Read: The Best Latest Photo Enhancing Software for PC and Mac
In Imgify, you can upload your images by selecting the image or by drag and drop feature. Imgify’s passport-making process is quite simple and easy, it just includes 3 steps of exporting and here are the steps:
- Upload your image
- Start the process
- Preview and download the image
After that, your image will be in your storage in passport size. The image will also be edited without doing any extra tasks.
Important Tips
- Make sure that the passport-sized image background is plain white or light blue.
- For a better image, wear plain clothes with minimal patterns.
- Behave naturally while capturing the image for passport size.
- Check your requirements for the passport-size image.
Considering your country’s passport image guidelines before making a passport image is important. You can check these details on the government’s official website or contact a professional photographer.
Conclusion
In this article, we have gone through how to make passport-size images with and without Photoshop. We describe simple ways to make passport-size images—moreover, an alternative AI solution helps you make passport-size images online for free. If you don’t want to face complex editing, try using the online tool Imgify.
FAQs
How do I resize a photo to passport size in Photoshop?
To resize a photo in Photoshop, you can follow these steps:
- Go to Image > Image Size
- Set resolution to 300dpi
- Click Ok
How do I convert a photo to passport size?
To convert your image into a passport-size photo, you can use Imgify’s passport-size photo maker.
How do I make a passport-size photo in Photoshop for free?
Here are the steps to do this:
- Open your photo in Photoshop
- Crop the image to passport size
- Adjust the colours and lighting (optional)
- Resize the image to the required resolution
- Save the final Result
What version of Photoshop do I need to create passport photos?
Version doesn’t matter so You can use any version of Photoshop.


